When it comes to controlling greenhouse temperature, we understand how hard it is to keep the climate under control. More importantly, it takes a considerable amount of investment and monthly basis cost to ensure the optimal temperature for your greenhouse. Choosing an effective evaporative cooling system can help you to solve this problem. Though many readily-available solutions are in the market, they are a little bit costly. A DIY greenhouse cooling wall can significantly reduce the temperature of your current greenhouse location. Here we will guide you on creating a greenhouse cooling wall of your own without compromising the quality. Let’s dive in!
DIY Greenhouse Cooling Wall Making Step By Step
If you are looking for an affordable solution for an evaporative cooling system, you have landed on the right spot. Following important five steps are necessary to make a greenhouse cooling wall of your own. Below are the instructions to follow: First, gather the materials you’ll need, including a fan, water reservoir, and a reliable source of water. Next, carefully construct the cooling wall by arranging a series of porous materials that allow for optimal airflow and moisture retention. For those interested in exploring additional cooling methods, researching how to create a geothermal greenhouse can provide valuable insights into maintaining a stable temperature year-round. By following these steps, you’ll ensure your greenhouse remains a comfortable environment for your plants, even during the hottest months.
Step 1 : Choosing the Right Size Cooling Pad
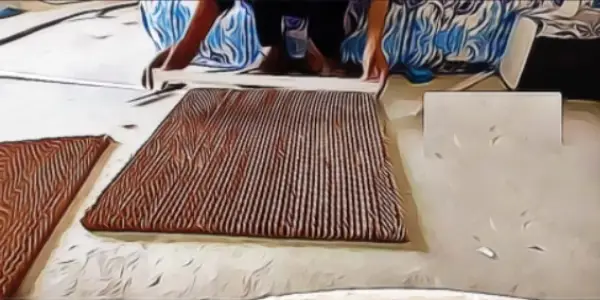
At first, you need to select an accurate size cooling pad for your greenhouse. An industrial-grade cooling pad will be better for precise temperature control.
Step 2 : Preparing the Pipe and Gauge Steel Track
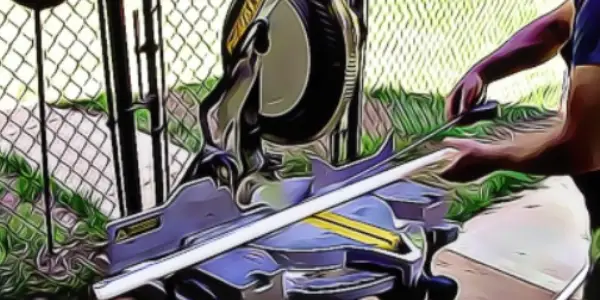
Cut the gauge steel track and PVC pressure pipe based on where you want to install it. You can use a handsaw or similar items to cut it smoothly. Make sure to cut on each side to have a four-inch overhang on one side and a two-inch overhang on the other. You can use chalk to cut the pipe in a straight line.
Step 3 : Drilling holes in the pipe and drain
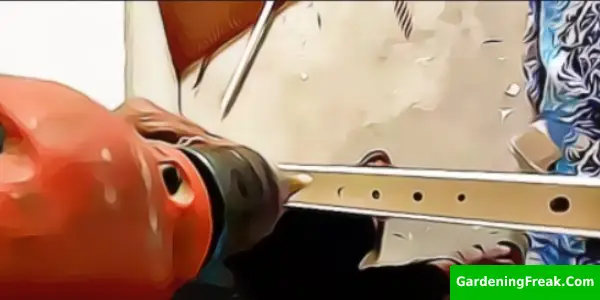
The next task is drilling a few holes around in the opening and ending part of the pipe and drain. Also, you need to drill holes in the groove of the trench to keep any overflow, possibly from running over the sides.Make sure you start your holes in the right place, and just drill them as straight and as clean as you can.
Step 4 : Attaching the Gauge Steel Track and Pipe
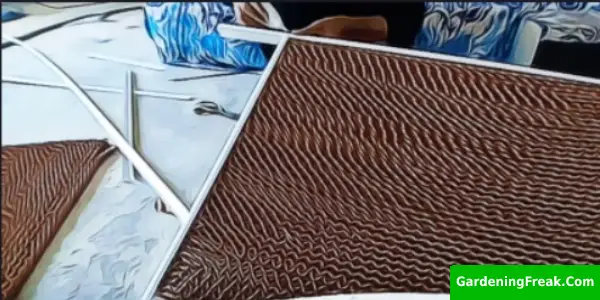
After cutting and drillings the hole, you can want to attach both the gauge steel track and pipe in the right place. Make sure to use silicone glue at the side of the steel track to prevent it from moving out of the spot.Add stainless steel screws to the holes and tighten them properly using a screwdriver. Finally, now you have created a finished product.
Step 5 : Installing Evaporative Cooling System
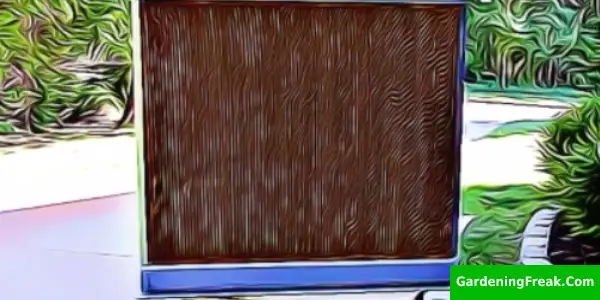
Now, install the cooling wall in your planned area. Before installing it, track down the current temperature. Then, compare it with the earlier temperature. Supply water properly so that it can provide enough cool environments for the plants. But control the water supply. Don’t add too much water. Otherwise, the internal area will be too humid.
What Is A Cooling Wall
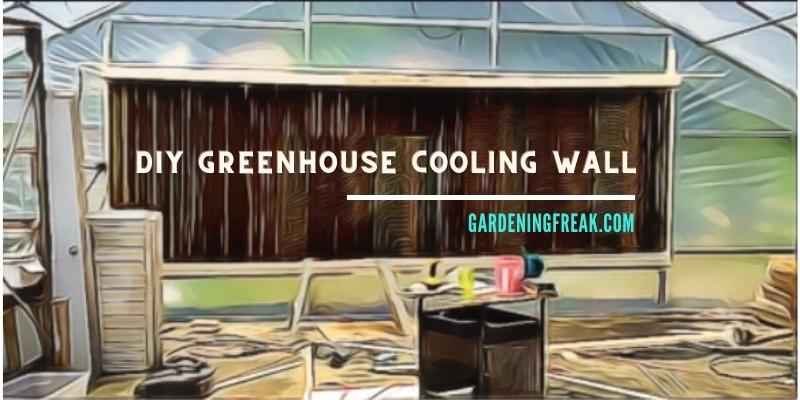
A cooling wall is an effortless and affordable way to cool your greenhouse. A cooling pad and an aluminum wall are attached together. In order to continuously supply water, a pumping system is used. Additionally, one or several exhaust fans are used to evaporate water.
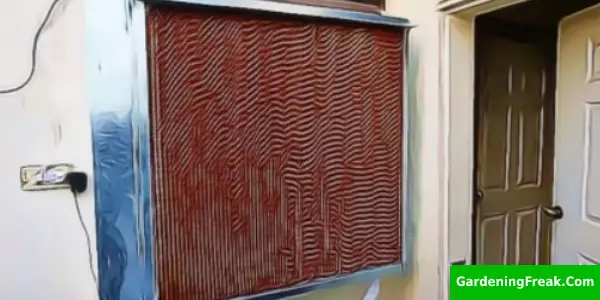
Generally, you need to install the fan in the alternative direction of the cooling wall. This approach is mainly effective in protecting the greenhouse plant from excessive heat during the summertime. This highly functional cooling wall can control an awful lot of humidity. You can call it a large cardboard pad. When you set it perfectly with all the necessary things, it is possible to control the temperature as much as 10 to 20ºF below the outside temperature.
How Does A Greenhouse Cooling Wall Work
The working mechanism of a cool greenhouse wall is simple. It drops water from the top area through the cool panel and recollects in the reservoir down below. Then it re-circulates on the outside.There is an insulated vent that opens and closes based on the controller. It mainly tells you what to do based on the temperature condition. When the water moves through a cooling pad, the pad becomes wet and starts dribbling. Several fans are at the other end of the greenhouse, which helps pull out hot air.
Its main job is picking up a lot of moisture and helping to reduce the temperature by 30 degrees or more. It removes hot air through the exhaust and aims at creating a highly effective and dry climate. This brings up relative humidity levels, which is really crucial for plants’ health.
How Do You Prevent Calcium Buildup In A Swamp Cooler
Just because a swamp cooler is easy to maintain doesn’t mean it won’t show any issues while using it. Maintaining some precautious is necessary. Calcium or other deposits will build up over time in your evaporative cooling system. The water inside the cooling pads becomes harder gradually. They contain a higher amount of minerals.
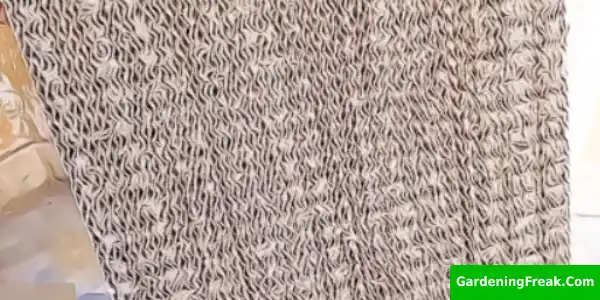
As a result, increased calcium will develop inside the cooler pads. Neglecting the issue will lead to corrosion on the aluminum parts. If this doesn’t stop for a long time, the cooling pad quality will deteriorate. Here are a few top-notch tips to prevent calcium buildup in a swamp cooler.
-
Regularly Cleaning the Evaporative Cooling System
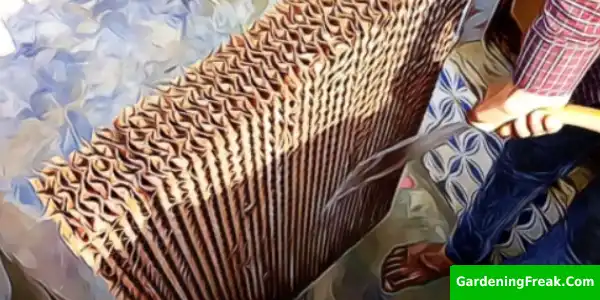
Generally, you don’t need to run this type of evaporative cooling system during the winter season. So, before the summer season starts, inspect the cooler pad condition and clean it and maintain it if required. If it has any calcium or other mineral buildup, properly clean it. Take off the removable parts. It will make the cleaning task easier. You can use a water/vinegar mixture for better cleaning. Scrub off the dirty areas adequately.
-
Avoid Using Water from A Water Softener
Many people may recommend using water softeners for removing mineral ions, calcium, magnesium, and other substances. But they will increase the sodium-rich nature of softened water.Additionally, this type of solution is ineffective in getting rid of bacteria or tough metals like mercury, lead, or even iron. They may become aggressive at leaching metals. These heavy metals may cause rust or corrosion issues.
-
Using High-quality Cooling Pads
Quality products provide quality service. Choosing cheap cooling pads will show wear and tear soon and fail to provide a consistent cooling effect. Regardless of the type of cooling pads you choose, make sure it provides reliable performance. You may need to replace the filter 2-3 times in each season.But hard water will increase the frequency of changing cooling pads. You should not overlook or be late in replacing the filter on time.
What Temperature Is Too Hot For a Greenhouse
The perfect climate condition of a greenhouse is 80 to 85°F (26 to 29°C). If the temperature exceeds 90°F, it becomes inconvenient. The higher the temperature, the more intolerable it is for the greenhouse. Even a heat-tolerant plant like a tomato will struggle to grow smoothly. But plants’ temperature preferences will differ from each other. It is a good rule of thumb to figure out the ideal temperature for your particular greenhouse plant. You should maintain the optimal temperature to let them grow naturally and boost crop production. If the gap of perfect temperature between plants is too much, you may need to build several greenhouses based on varieties.
How to Control Too Hot Temperature for Greenhouse
The external environment plays a key role in a too hot temperature. But your preventive actions and some regular practices can reduce the temperature slightly or moderately. Below are some effective tips:
-
Monitoring the Temperature
Temperature sometimes climbs too high suddenly. Regularly monitoring the weather condition can give you better control. You can use various things such as a basic thermometer, special greenhouse thermometer, thermocouple, or temperature probe. Regardless of the device you choose, it should read the accurate temperature. Take immediate action if the internal climate becomes too hot for the plants.
-
Proper Ventilation
It is a general rule of thumb to keep the greenhouse well ventilated. If the temperature climbs high, open the greenhouse doors and windows. This will let fresh air in.Now, again measure the temperature. Check out if it reduces. Then take protective action accordingly. You can automatically use a hydraulic system to open the greenhouse doors and windows. Consider adding 1 or 2 circulating greenhouse fans to reduce the temperature. These HAF or HVF fans can help you achieve 26 to 29 degrees Celsius.
-
Using Shade Cloths
Proper ventilation may not be enough to control the temperature if your greenhouse gets direct sunlight for a long time. Adding some shade cloths can be an effective choice. They mainly minimize the radiation and safeguard plants from sunburn. Try choosing highly-dense shade cloths. They will block more sunlight. This will provide extra protection for plants.
-
Installing A Portable Air Conditioner
You can consider installing a portable air conditioner to achieve a cooler environment inside the greenhouse. They work as a dehumidifier too.Apart from reducing the temperature significantly, they will ensure an optimal humidity level. Though they are a little pricey, they don’t consume much electricity.
-
Regularly Watering The Plants
Watering the plants doesn’t reduce the temperature, but it keeps them well hydrated. So, their capability to withstand higher temperature rises. But you should not overwater them. Otherwise, they will feel a deficiency of oxygen and have a rotten root. This will lead to death soon.
What Temperature Should A Greenhouse Be Kept At
According to many garden experts, 75-85° F is the perfect summer temperature for a greenhouse during the daytime and 60-76° F at night time. But a slightly lower temperature will be okay in the winter season. You can aim at keeping the greenhouse at 65-70° F in the day and 45° at night. However, the best temperature for your greenhouse depends on the plants. A greenhouse with various types of plants needs an average preferred temperature.When you only plant to 1 or 2type of plants, aim at maintaining the ideal temperature for these plants. Too many variable plants may make the temperature controlling system harder. After all, they don’t need the same level of temperature.
FAQS
Do cooling walls work in high heat?
Cooling walls can reduce your greenhouse temperature up to 10-15 degrees. But if the external weather has a higher humidity level, its efficiency will reduce. In such as case, you have to use additional devices and fans to achieve the optimal temperature for your greenhouse plants.
Can I run my swamp cooler all day?
As long as there is enough water in the pump system, you can run your swamp cooler all day long. Automatic swamp coolers will smoothly run for 24 hours of the day. But you need to add water to the reservoir for manual swamp coolers if the water level reduces significantly.
Can I put ice in my swamp cooler?
Putting ice in a swamp cooler will improve cooling and make the internal temperature convenient. But avoid adding ice all day long. This will make the swamp cooler less efficient over time.
Can I use a swamp cooler and AC at the same time?
Since both swamp coolers and ACs mainly work to reduce temperature levels, you should not use them together. Otherwise, the efficiency of both of them will be compromised. You won't get a reliable performance from either of them.
How often should swamp cooler pads be replaced?
Most experts recommend changing swamp cooler pads after every 3-5 years. It usually relies on how often you use it and the current condition of the old pad. Properly cleaning it will increase its lifespan.
Conclusion
Compared to the outside environment, greenhouse plants need more extra care. A highly hot and humid environment may seriously affect plants if you don’t take preventive actions for them. After all, plants have a certain temperature tolerance level. Adding an affordable cooling wall will help your plants to have a comfortable environment to grow naturally. You can make a DIY greenhouse cooling wall of your own instead of buying a ready-made cooling wall. Just make sure to follow the step-by-step guideline we have mentioned above. If the greenhouse temperature is still too high, consider adding several fans.

I would love to (have my husband) make these. Could you please tell me more details about the materials you use e.g. size of channels and pvc?
Many thanks,